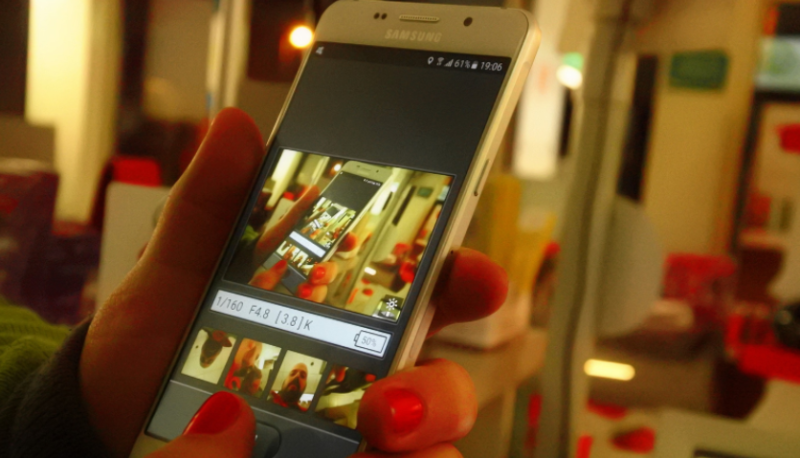
Helpful Ideas for Organizing Your Photos on Android
February 16, 2022

If you want to place all the screenshots and photos in perfect order on your Android mobile, follow these helpful recommendations. You can easily create the albums in Google Photos and copy the pictures you need. It will help you to find those you need without wasting hours in the gigantic library full of photos.
Many of us have thousands of photos on Android phones that we keep as memorable for years. Once we need to find something there, it becomes mission impossible. If you mix these photos with screenshots you take for work, you can consider them lost in piles of unedited content. Meanwhile, you can still change the situation. All you need is to organize the visual content.
Google Photos
This app comes pre-installed on your phone. Yet, if somehow you deleted it you can always download Google Photos from the Google Play store. All you need to do there is to:
-
Open the app;
-
Tap the account icon in the right upper corner;
-
Pick the Photos in settings;
-
Tap the Back Up & Sync. Enable it if you need it.
You will need to choose the backups’ quality. To do it, just choose the Upload size option. You may pick the Original quality or High Quality. Pay attention to the fact that it will change the size of the photo. If you still want High Quality of photos but don’t have much space, you may buy 100GB of extra space for $1.99 per month. There are different plans you can choose from Google.
After you make backups and pick the quality, sync everything with the app. All your visual content will be revealed in Google Photos. There you will be able to create new folders and organize everything as you need.
Best Way to Organize Photos on Mobile Phone
If you want to organize your photos, you may start with the phone. Use Google Photos for this. Here is the instruction:
-
Find the Library icon at the toolbar, and tap it;
-
Go down to the New Album option and tap it. Another option is to tap the Create Album;
-
Create the name for the album. Pick the meaningful one that describes the content inside;
-
Press this box and choose Select Photos;
-
Now you can choose the photos you want to see in this album. You may tag the photos, choosing by occasion, the person you are with, or the date. It is up to you how to pick photos for each album;
-
Once it is done, tap the link Add in the right upper corner.
Now you have the new album. You can always add photos there if you need them. To do it, just tap the icon at the top with the name Add Photos. Pick the photos and press Add.
If you need to remove any photos from the album, you have to press the icon with the three dots you see in the right upper corner. Press the Select icon. Choose those photos you have to remove. Go to the three dots menu and choose Remove again. After some time you will be able to repeat these moves in less than several seconds. There is also an option that allows you to remove the whole album. Once you don’t need it just go back to the three-dot menu and pick the Delete album.
Google Photos on Computer
You can organize photos on a laptop with this app too. Just register on the Google Photos page. Pick the Albums in the section called Library. There will be the Create album option in front of you. Choose the title for it. Now push the button Add Photos. You will be able to select the content from your device.
Organize Your Space
Google Photos is the simplest way to increase the visibility of your photos. You can put everything in order with a few taps. The app may help you with photos and screenshots on your phone, as well as on the laptop. If you have more tools you want to talk about, do it in the comments below. Which app do you use the most? How do you organize your photos?


Leave a comment
Your comment is awaiting moderation. We save your draft here
0 Comments